> ## Documentation Index
> Fetch the complete documentation index at: https://mw-docs.middleware.io/llms.txt
> Use this file to discover all available pages before exploring further.
# Vercel
> Vercel APM - Setup & Installation Docs | Middleware
| Traces | Metrics | App Logs | Custom Logs | Profiling |
| :----: | :-----: | :------: | :---------: | :-------: |
| ✅ | ✖️ | ✅ | ✅ | ✅ |
This guide walks you through setting up the Vercel APM integration. These instructions can also be found on the Installation page in your Middleware Account. View example code [here](https://github.com/middleware-labs/demo-apm/tree/master/nextjs).
Refer to our sample [Vercel project](https://github.com/middleware-labs/demo-apm/tree/master/nextjs) to see the Middleware - Vercel Integration in action.
# Prerequisites
Vercel Pro or Enterprise Account
`Next.js version 13.4` or above. Check your Next.js version with the following command:
```bash Shell theme={null}
npx next --version
```
`@opentelemetry/api` package installed. If not, run the following command:
```bash Shell theme={null}
npm install @opentelemetry/api@">=1.3.0 <1.5.0"
```
You can read detailed prerequisites and essential information about OpenTelemetry in [Vercel's documentation](https://nextjs.org/docs/pages/building-your-application/optimizing/open-telemetry). This information will be helpful when integrating Middleware with Vercel.
# Install
### Step 1: Add Middleware Integration
#### Step 1a: Access Vercel Marketplace
Add [Middleware integration](https://vercel.com/integrations/middleware/new) from Vercel Marketplace
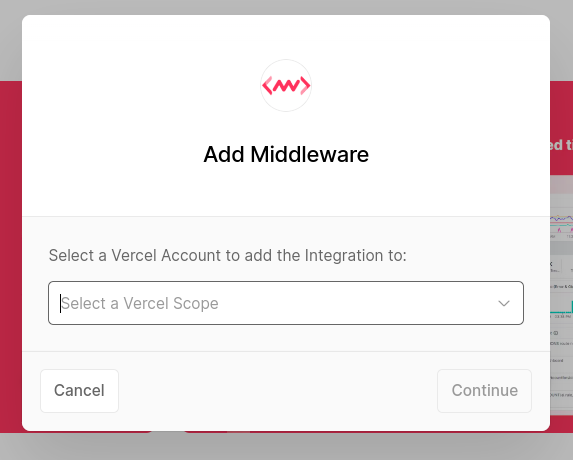
#### Step 1b: Add Vercel Account
Select a Vercel Account to add the Integration to
#### Step 1c: Track Your Project
Select the Project you want to track
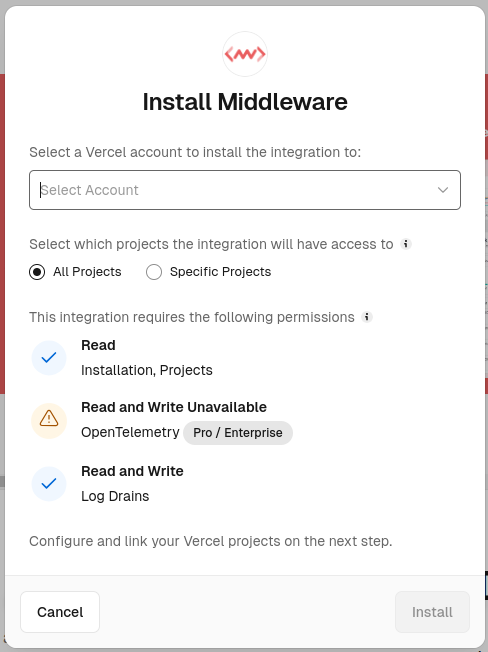
You must accept the below permissions in order to proceed with the rest of the integration
#### Step 1d: Allow Permissions and Add Integration
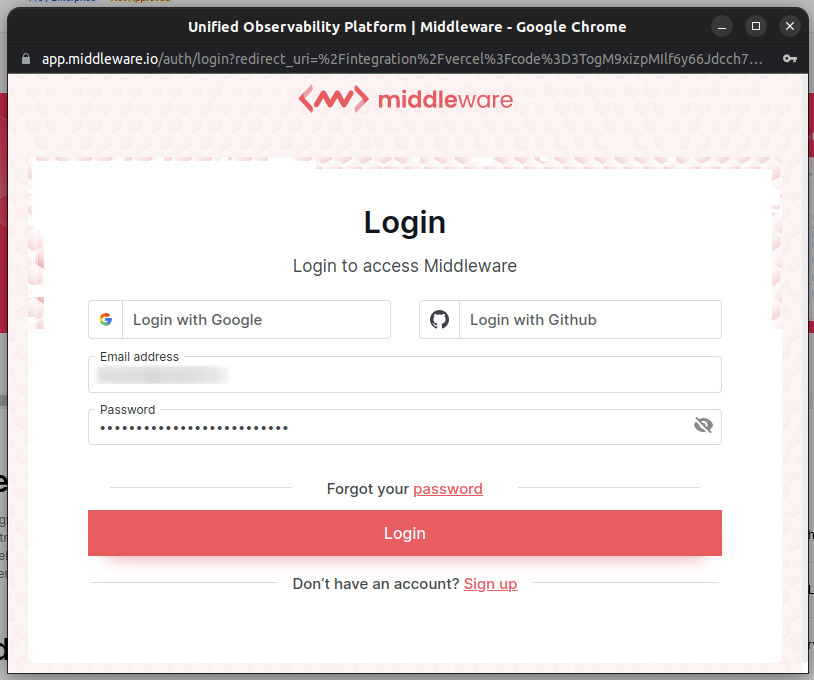
#### Step 1e: Login to Your Middleware Account
#### Step 1f: Check Your Integration
The below screen indicates you have successfully integrated Vercel and Middleware
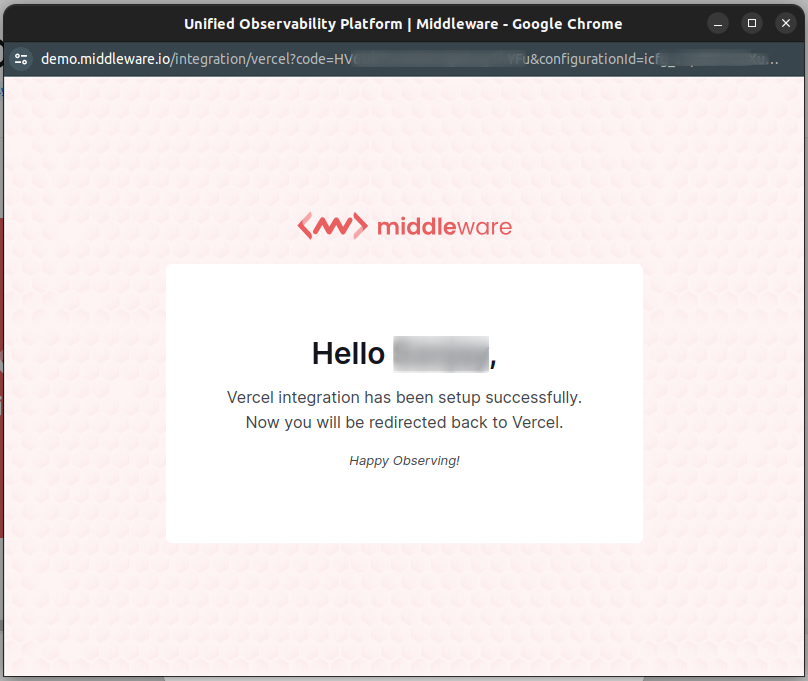
After three seconds you should be redirected back to the Vercel marketplace
#### Step 1g: Automatic Logs
After integrating Middleware with Vercel, you will be able to centralize your data in Middleware's Log page. Change your Vercel log collection configuration by navigating to **Integrations**, selecting **Log Drains**, and clicking **Manage**:
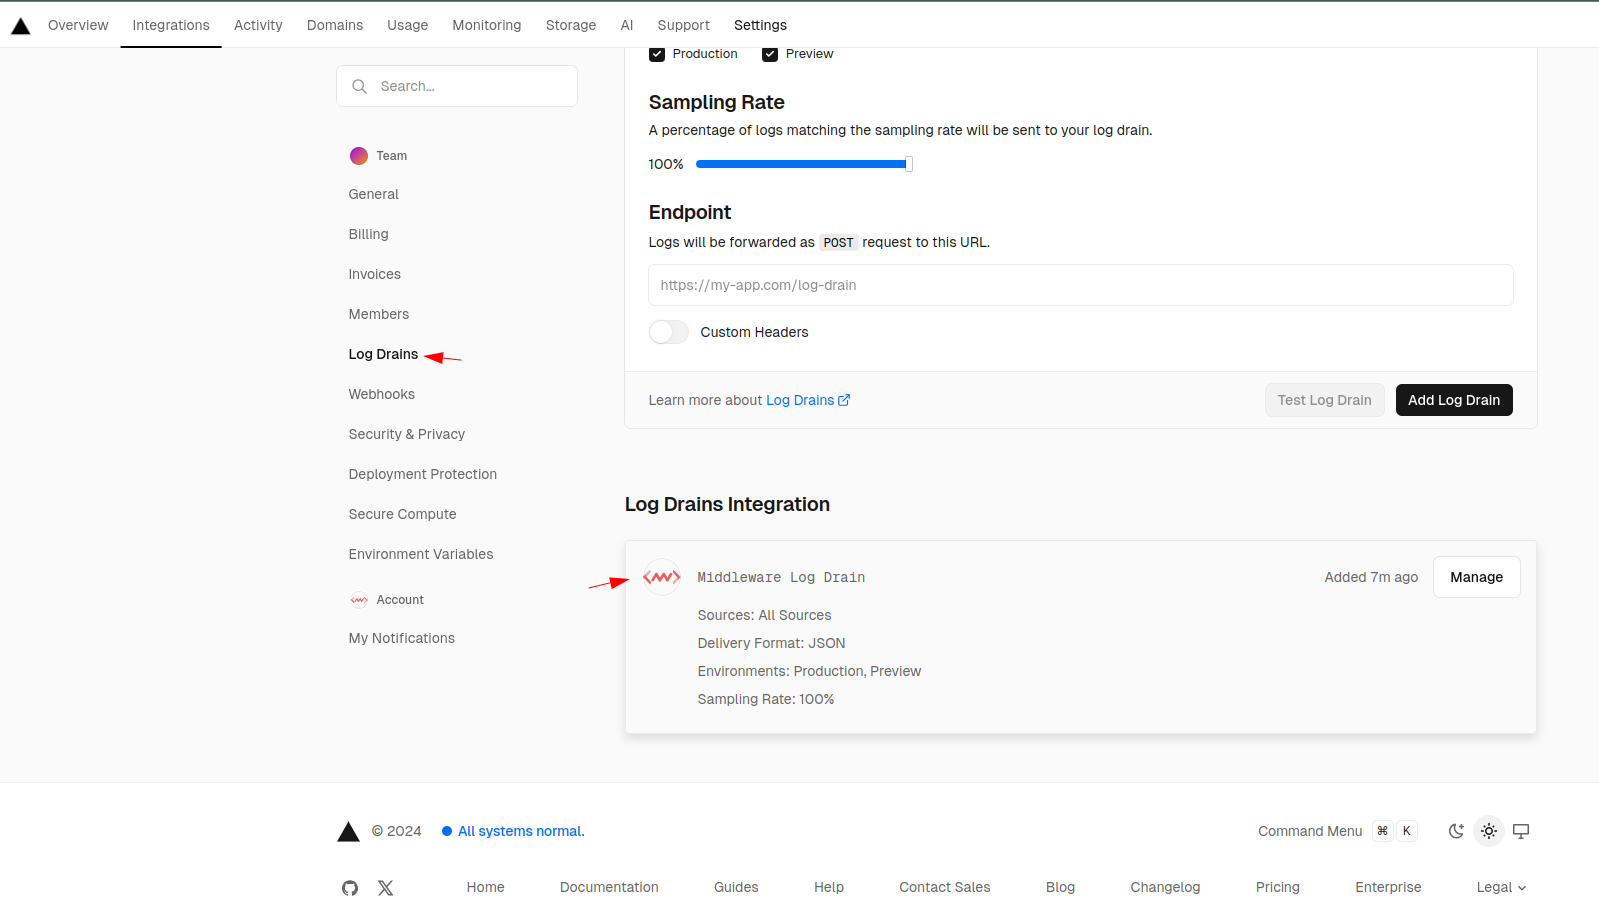
For more information on automatic log ingestion, navigate to Vercel's [Log Drain Reference Doc](https://vercel.com/docs/observability/log-drains/log-drains-reference#log-sources).
| **Value** | **Details** |
| :----------- | :---------------------------------------------------------------------------------------------------------------------------------- |
| **Static** | Collects logs for static assets like HTML and CSS files |
| **Edge** | Outputs log data from Edge Functions like Middleware |
| **Lambda** | Outputs log data from Vercel Functions like API Routes |
| **External** | Collects log results for external [rewrites](https://vercel.com/docs/projects/project-configuration#rewrites) to a different domain |
| **Build** | Outputs log data from the Build Step |
#### Step 1h: Enable Traces & Continuous Profiling
If you would like to enable traces and profiling within your application, navigate to Vercel and enable traces prior to deploying your project and completing steps two through six.
### Step 2: Install `Next.js` APM Package
Run the following command in your terminal:
```bash Shell theme={null}
npm install @middleware.io/agent-apm-nextjs
```
### Step 3: Modify Config File
Add the following code to your `next.config.js` file:
```javascript Next.js theme={null}
const nextConfig = {
// ...
// Your existing config
experimental: {
instrumentationHook: true
}
// ...
// Your existing config
}
module.exports = nextConfig
```
### Step 4: Create Instrumentation File
#### Step 4a: Create `instrumentation.ts (or .js)` File
Create a custom `instrumentation.ts (or .js)` file in your project root directory or inside the src folder
The `instrumentation.ts` file must be located at the `root` of your project unless you are using the `src` directory. If you are using the `src` directory, ensure the `instrumentation.ts` file is placed within the `src` directory, alongside the pages and app directories.
#### Step 4b: Synchronize Instrumentation Filename
Synchronize your instrumentation filename if you are using the `pagesExtension` config option to add suffixes
Example: If you use pagesExtension: \['ts'], the instrumentation file should be named `instrumentation.ts`
#### Step 4c: Add Code Snippet
Add the below code snippet. The access token is your account key, which can be found on the [Installation page](https://app.middleware.io/installation#apm/nextjs):
```javascript Next.js theme={null}
// @ts-ignore
import tracker from '@middleware.io/agent-apm-nextjs';
export function register() {
tracker.track({
serviceName: "",
accessToken: "",
target: "vercel"
});
}
```
#### Step 4d: Integrate Before You Deploy
Integrate your APIs or Serverless functions prior to deployment. Vercel will treat your app as a static website during deployment if you have not integrated any APIs or Serverless functions and the `instrumentation.ts` file will not be invoked, resulting in the absence of traces or logs in your Middleware account.
Vercel does not support instrumentation for edge functions.
### Step 5: Enable Custom Logs \[Optional]
Ingest custom logs by using the following functions based on desired log severity levels:
```javascript Next.js theme={null}
// @ts-ignore
import tracker from '@middleware.io/agent-apm-nextjs';
export default async function handler(req, res) {
// ...
// Your existing code
tracker.info("Info Sample");
tracker.warn("Warn Sample", {
"tester": "Alex",
});
tracker.debug("Debug Sample");
tracker.error("Error Sample");
// ...
// Your existing code
}
```
### Step 6: Deploy on Vercel
If you’re looking to set up a sample Next.js project with API routes, you can use the following command in your terminal: `npx create-next-app@latest --example api-routes`
# Continuous Profiling
Continuous profiling captures real-time performance insights from your application to enable rapid identification of resource allocation, bottlenecks, and more. Navigate to the [Continuous Profiling](https://docs.middleware.io/workflow/profiling#continuous-profiling) section to learn more about using Continuous Profiling with the Vercel APM.
# Troubleshooting
If you do not see any data appear on the Middleware dashboard, redeploy your project on Vercel. This should ensure that the traces and profiling data are properly generated and collected by Middleware.
Need assistance or want to learn more about Middleware? Contact us at support\[at]middleware.io.